Model selection · Checked October 6, 2026
Kling O3 vs Kling 4.0: Which Workflow Fits?
Choose by the shot you need to make. O3 is the shorthand for Kling VIDEO 3.0 Omni, built around reference-led creation. Kling 4.0 adds more room for longer scenes and multiple visual milestones.
If you already have a recurring character and a working reference library, test your existing O3 workflow before rebuilding it. If the brief depends on a longer continuous scene or several planned visual beats, evaluate Kling 4.0 with a short pilot first.
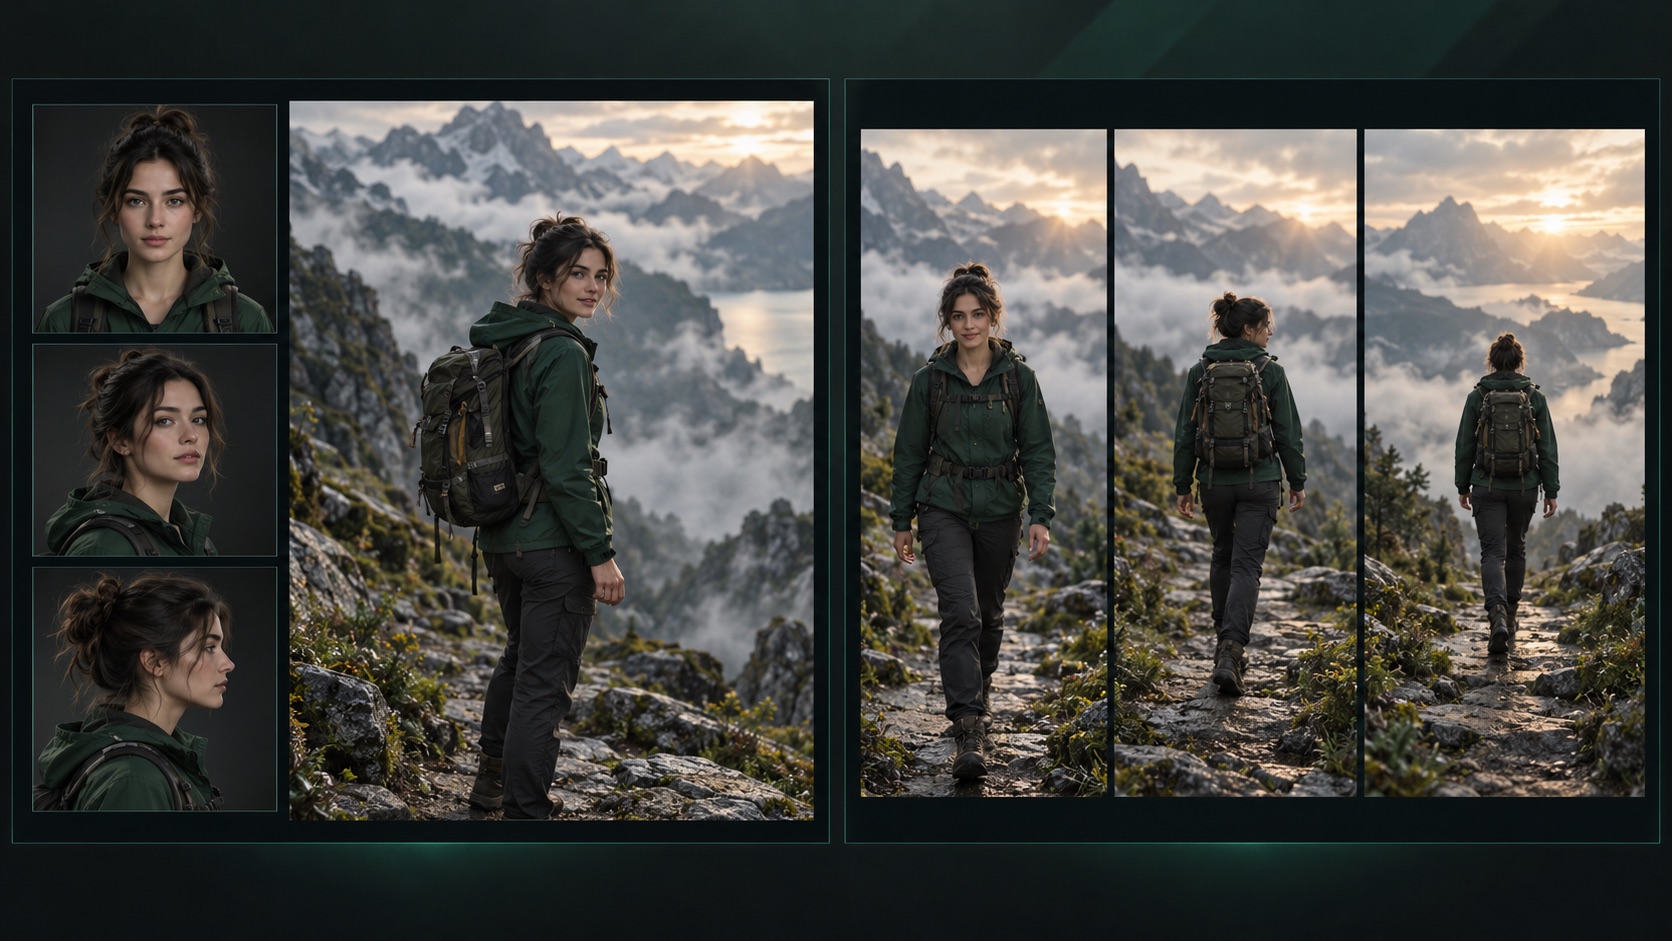
Reference planning and visual milestones
- Reference assets: establish the subject
- Visual milestones: plan the change
AI editorial illustration, not a Kling generation. A planning illustration, not a quality comparison between the models.
Kling O3 vs Kling 4.0 at a glance
| Decision | Kling O3 / 3.0 Omni | Kling 4.0 |
|---|---|---|
| Best starting question | How do I keep this subject and performance connected across shots? | How do I organize a longer scene with several important visual moments? |
| Reference workflow | Multi-image and element references, video elements and element voice control. | Omni Reference combines image, video, subject and voice inputs; available controls depend on the selected mode. |
| Clip planning | Published 3.0 Omni guidance describes clips up to 15 seconds. | The 4.0 announcement describes native generation up to 30 seconds. |
| Visual milestones | Start/end frames and multi-shot workflows. | Published Multiple Keyframes guidance describes up to 10 keyframe images. |
| Main evaluation task | Check whether the subject stays recognizable across angles and new scenes. | Check whether planned transitions remain coherent across the complete timeline. |
| Access and integration | Verify the exact Omni model and controls available in your chosen interface. | The September 30 announcement describes early access and a wider October rollout; verify access and do not assume Flash has identical limits. |
| Image and subject inputs | Up to 7 images/elements without a video, or 4 with a video. | The announcement lists up to 15 total references: up to 10 images, 5 videos and 7 voiced subjects, subject to the combined limit. |
| Video references | One 3–10-second video; character-element creation has separate requirements. | Video and video-subject references have a combined 30-second limit. |
| Audio and dialogue | Native audio and character voices; the guide marks native audio as unavailable for the video-input workflow. | Stereo audio and dialogue are described; confirm supported combinations in the selected mode. |
| Output and framing | The guide lists 720p and 1080p. | 21:9 is announced. 10-bit HDR 4K/1080p is marked coming soon, rather than universally available. |
| Editing | Retains O1 video editing and prompt transformation. | Targeted action, camera, style and background changes are described; controls depend on mode. |
| Longer finished videos | Assemble clips in an editor and maintain character and voice continuity. | Two-minute extension is marked coming soon; it is not an available native two-minute generation claim. |
| Budget | Input video, audio, resolution and duration affect the quote. | Check the account’s actual quote. This page does not establish that 4.0 is cheaper or faster. |
Choose O3 when your reference library is the asset
A recurring host, fictional character or product campaign often has a stricter identity requirement than a duration requirement. Prepare an appearance sheet, a small set of approved angles and a clear role for each reference. Compare a front-facing shot, a turn and a new scene. Keep the same brief when evaluating another model, so improvements in your input are not mistaken for model improvements.
Choose Kling 4.0 when the scene needs visual milestones
Write the scene as an opening, a change and a landing. Select keyframes that describe those events without changing the subject’s anatomy, clothing or environment unintentionally. Begin with a short segment to check the transition. Increasing duration before checking the core action can multiply the amount of footage you need to inspect and replace.
Compare usable shots, not isolated frames
Give both workflows the same acceptance checklist: subject identity, action timing, camera continuity, relevant text and sound. Review the whole clip at normal speed and inspect the difficult moments. Record total attempts, generation spend and editing time for every version, including rejects. A beautiful still frame does not establish better motion, lower cost or higher campaign conversion.
Motion transfer is a separate decision
If your brief says “make this character perform this exact reference action,” start with a dedicated motion-transfer workflow. A long-duration setting or extra keyframes does not automatically provide that control. Use the motion reference to define the performance, then judge how well the character and movement survive together.
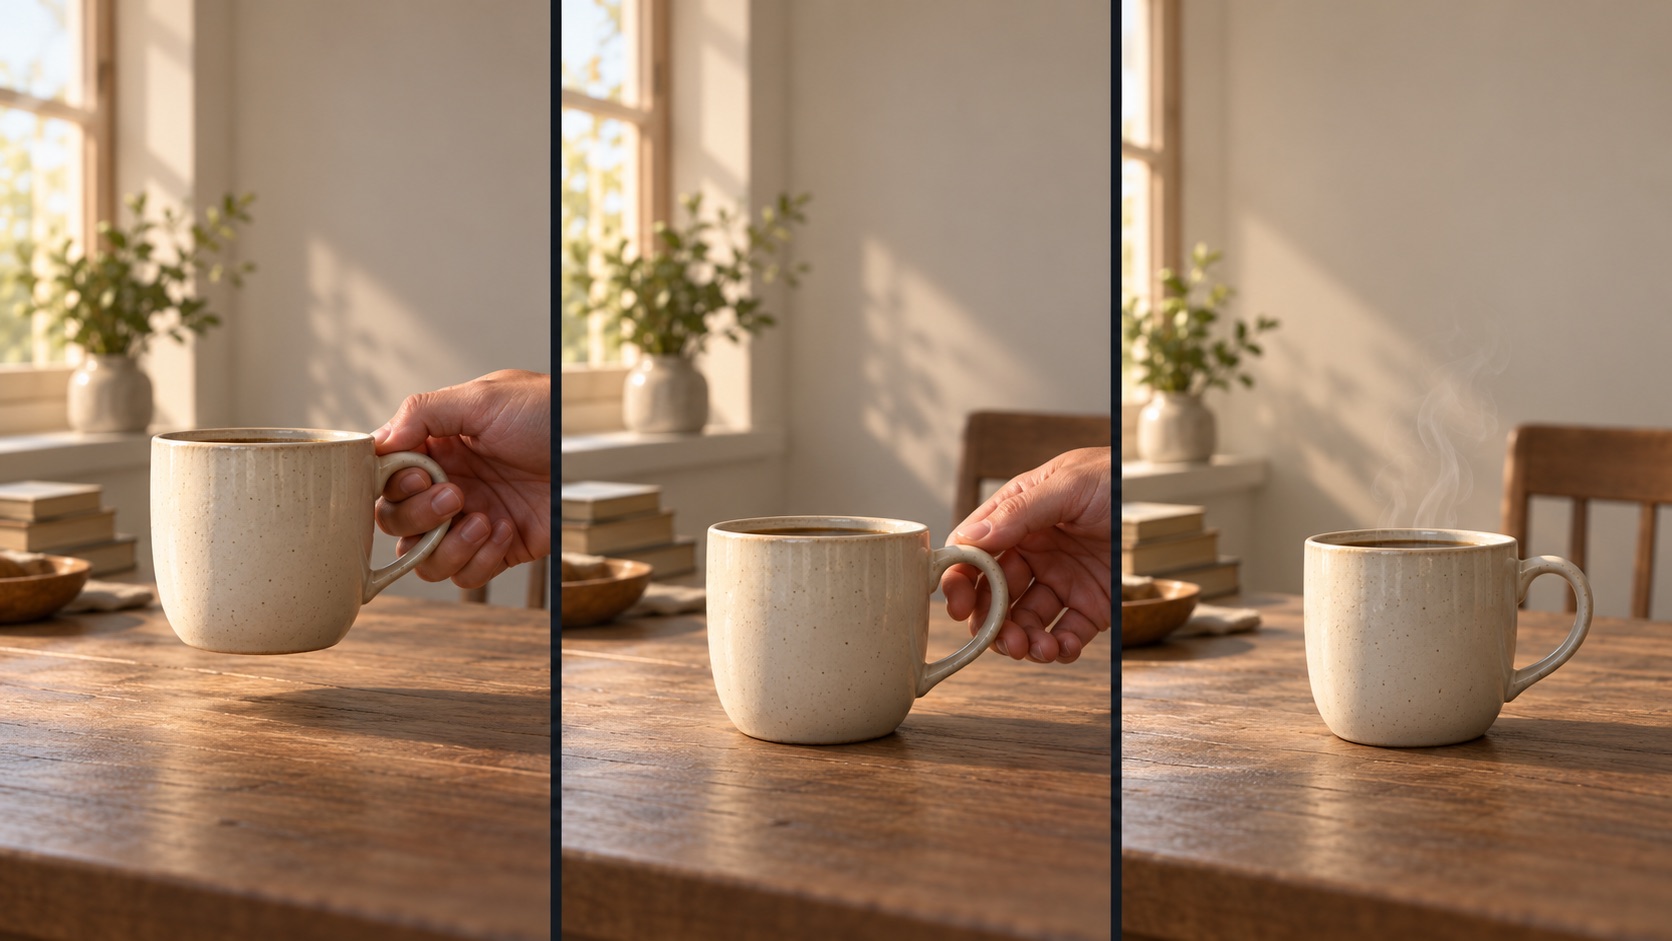
Turn one action into three reviewable frames
- 01 · Opening: approach the table
- 02 · Action: set down and release
- 03 · Ending: the cup stands alone
AI editorial illustration, not a Kling generation. Review continuity in cup shape, handle direction, lighting and camera position.
Six project briefs, with practical starting points
These are workflow recommendations, not a quality ranking. Each brief includes a starting point, an input plan and a condition for accepting the result.
01
Recurring character videos
Test your established O3 character elements first; use 4.0 as a challenger.
Prepare approved front, side and full-body views in the same outfit. Test an introduction, a turn and a change of setting.
Review criteria: Accept the sequence only when the face, hair, clothing and voice connect. One attractive clip does not establish series consistency.
02
Product ads and commerce
Try O3 for short product shots and 4.0 for a continuous reveal.
Supply product angles and list structural details that must survive. Separate the entrance, detail reveal and closing pose into clear events.
Review criteria: Review silhouette, material and contact shadows. Add accurate packaging text or logos from real assets in postproduction where needed.
03
Long continuous scenes
Evaluate the duration and keyframe workflow in 4.0 first.
Define an opening, a change and a landing. Reduce unnecessary characters and conflicting camera directions. Keep keyframes in the same physical space.
Review criteria: Review the complete timeline for costume changes, spatial jumps and unfinished actions. Duration is useful only if the full sequence holds together.
04
Two-person dialogue
Pilot both models; voice configuration and shot design may matter more.
Name each speaker and assign dialogue explicitly. Validate one line before adding reaction shots and cross-talk.
Review criteria: Check the speaker, lip movement, pauses and eyelines. If interactions fail, separate character shots can make corrections manageable.
05
Dance and gesture replication
Start with dedicated Motion Control rather than choosing solely between O3 and 4.0.
Prepare a character image and a clear performance reference. Match body proportions, crop and movement range where possible.
Review criteria: Inspect timing, limbs and foot contact. This site’s dedicated tool uses Kling 2.6 Motion Control.
06
Storyboards and client previews
Choose by the approval question: character assets suggest O3; visual milestones suggest 4.0.
Make each version answer one question, such as camera direction, blocking or action timing. Lock the structure before adding style variations.
Review criteria: Review previews separately from final deliverables. Approval of composition does not automatically approve voice, brand text or final image quality.
Run a fair comparison with one ten-second brief
Test brief: a person in a gray jacket enters a café, places a cup on the counter and turns toward the door. Compare how each workflow completes that task. Give both a comparable input plan rather than giving one carefully prepared references and the other a single sentence.
1.Lock the inputs
Use the same character and setting, ten-second duration, aspect ratio and output requirements. Save the exact model name, mode, date and quote.
2.Assign reference roles
Use the character image for appearance and the setting image for space. Avoid poses that contradict the action, and remove references with no clear role.
3.Plan three events
Start with the entrance, place the cup in the middle and finish with the turn. For O3, describe the character and shot. If available in 4.0, use matching visual milestones.
4.Allow equal iteration
Set the same attempt limit for both workflows. Record why an input changed. Keep rejected versions rather than presenting only one model’s best take.
5.Watch, then inspect
Review the story at normal speed, then inspect cup contact, fingers, the turn and the door position. Separate hard failures from defects that can be repaired.
6.Place it in the real edit
Add the actual subtitles, narration or neighboring shots. Compare deliverable footage and total working time rather than isolated still frames.
A pilot brief you can adapt
Ten seconds, one continuous medium shot, fixed camera. Preserve the reference character’s face, gray jacket and café layout. The person walks from the left to the counter, gently places a white cup on it, releases the cup and turns toward the entrance. The cup remains in contact with the counter. End with both the person and cup in frame. Do not add another person or change the setting.
This is an original comparison brief, not a tested model result. Test dialogue or multiple shots in a separate brief so that you do not change too many variables at once.
Acceptance checklist: hard conditions before scores
| Category | Question | Decision rule |
|---|---|---|
| Subject identity | Do the face, costume or product structure change? | A key subject becoming a different person or object is a rejection. |
| Action and contact | Are action order, hand contact and foot placement plausible? | A cup passing through the counter or visibly deformed limbs are hard failures. |
| Timeline and camera | Do space, action timing and neighboring shots connect? | Missing the essential action or jumping settings requires a revision before style scoring. |
| Audio and text | Do speaker identity, lip movement and essential text match the brief? | Covering incorrect dialogue with subtitles does not make it correct; record the repair cost. |
| Delivery readiness | Do framing, resolution and editing handles suit the destination? | Include cropping, restoration and additional shots in the actual production cost. |
After the hard conditions pass, rate each category from 1 to 5 and save the defect and timestamp. An average score should not turn a fundamentally unusable clip into a winner.
Compare cost per accepted shot
Cost per accepted clip = (generation spend across all attempts + repair spend) ÷ accepted clips. If no clip passes, record the spend without inventing a denominator of one. Official credits, a third-party dollar quote and this site’s credits are different units.
For illustration, workflow A takes four attempts at ten budget units each and produces two accepted clips. Workflow B takes two attempts at sixteen units each and produces one. Generation cost per accepted clip is twenty versus thirty-two units. These are hypothetical numbers explaining the calculation, not Kling prices or measured success rates.
Also record queue time, generation time, active working time and client revision rounds. A longer maximum duration does not improve delivery efficiency if only a few seconds survive the edit.
Keep these assets when moving from O3 to 4.0
Save original assets
Keep multi-angle character images, clean voice recordings, product views and setting references. Do not assume an element ID transfers between modes or providers.
Restate reference roles
Make implicit links in your old prompt explicit. Separate appearance, environment and style so the new interface has a clear input plan.
Migrate a short shot first
Reproduce an accepted five-to-ten-second shot before adding duration or keyframes. Change one control at a time so you can identify the cause of a regression.
Keep a fallback workflow
Retain successful briefs and settings from the older model. Continue with the validated production approach until the replacement meets delivery criteria.
For a reference performance, use Motion Control. For step-by-step planning, read the Kling 4.0 guide; choose a brief with the use-case and audience guide.
Frequently asked questions
Is Kling O3 the same as Kling 4.0?
No. O3 commonly refers to Kling VIDEO 3.0 Omni. Kling 4.0 is a later model family. Confirm the complete model name in the interface or API before comparing outputs.
Is Kling 4.0 always better than O3?
There is no universal winner established here. Match the model to the task, then compare accepted outputs under the same brief and review criteria.
Does this site offer every official Kling 4.0 capability?
No. The current general generator’s option labelled Kling 4.0 routes to Seedance 2 Mini. It does not establish access to the official 30-second, 4K or multiple-keyframe workflow. The dedicated Motion Control page uses the real Kling 2.6 endpoint.
Can I compare prices with one fixed cost per video?
A single advertised price is not enough. Match duration, resolution and output requirements, then include every attempt when calculating cost per accepted clip. Official-platform credits and this site’s credits are separate.
O3 already supports multiple shots. Why consider 4.0?
Multi-shot planning and multiple keyframes are different controls. The former organizes shots; the latter specifies visual milestones. The value of migrating depends on whether you need cuts or more control over a continuous visual sequence.
Are 4K and two-minute videos available to everyone?
The cited announcement marks 10-bit HDR 4K/1080p and two-minute extension as coming soon. Confirm the modes available to your account rather than treating an announcement as an available interface control.
Do more reference images always improve the result?
No. Conflicting clothing, proportions or lighting can create competing constraints. Give each reference a role, validate one shot with sufficient inputs, then add useful angles.
Should I generate the whole scene or separate shots?
Test a continuous clip when movement and space must connect. Separate shots can make precise dialogue, interactions or brand details easier to fix. Decide from the requirements of the final edit.
Source notes
Kling VIDEO 3.0 Omni user guide · Kling 4.0 announcement · Multiple Keyframes guide
The table summarizes publisher documentation, not a site-run quality benchmark. Access and controls can change by version.